April 6, 2026
How to Take the Perfect Photo for Your Virtual Color Analysis
Your photo makes or breaks your color analysis. Here's exactly how to capture a selfie that gives Kayli everything she needs to find your true color season — plus the most common mistakes to avoid.
Getting your color season right starts long before Kayli opens your photos. The single biggest factor in the accuracy of a virtual color analysis is the quality of the photo you submit. Poor lighting, heavy makeup, or a filtered selfie can make even the most experienced analyst second-guess your undertone — or worse, land you in the wrong season entirely. Here's exactly what to do (and what to avoid) to get the most accurate result.
1. Natural Light Is Everything
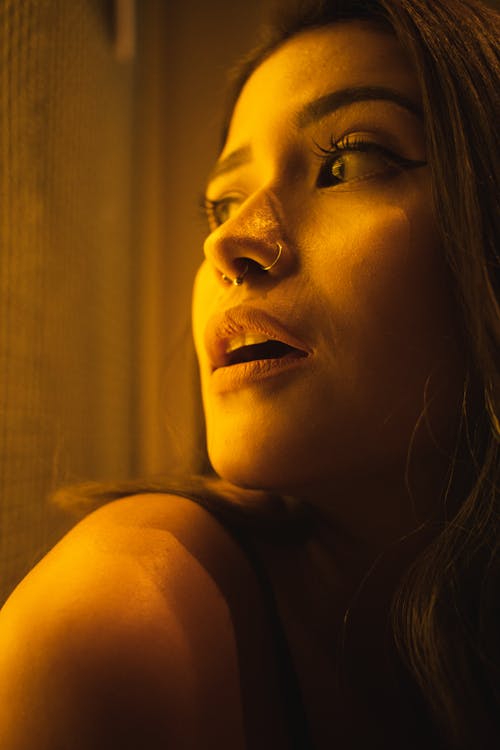
Lighting is the single most important factor in your photo. The goal is soft, even, natural daylight — ideally from a window or outdoors on an overcast day. Direct sunlight blows out your skin tone and washes away color information. Indoor artificial lighting (especially warm bulbs or fluorescent office lights) shifts your undertones dramatically, often making warm-neutral skin look cool, or muted skin look vivid.
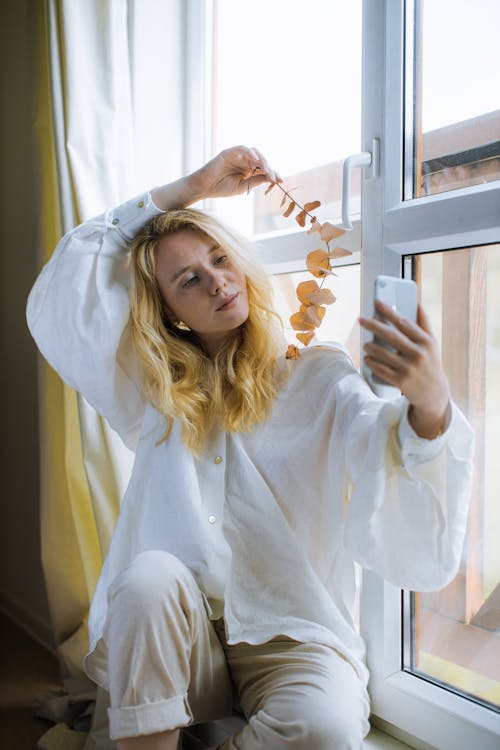
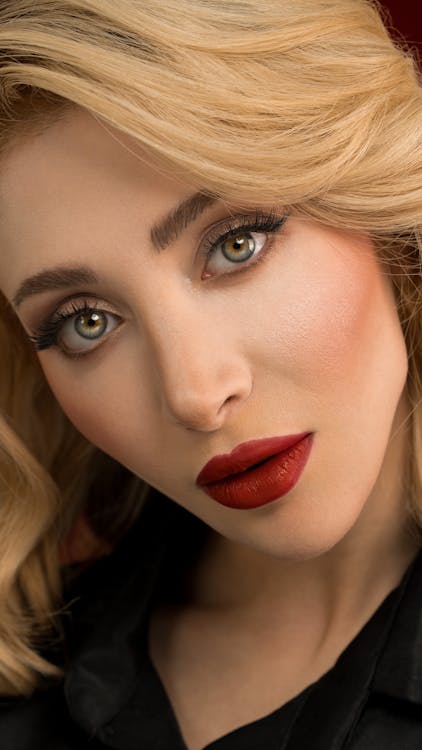
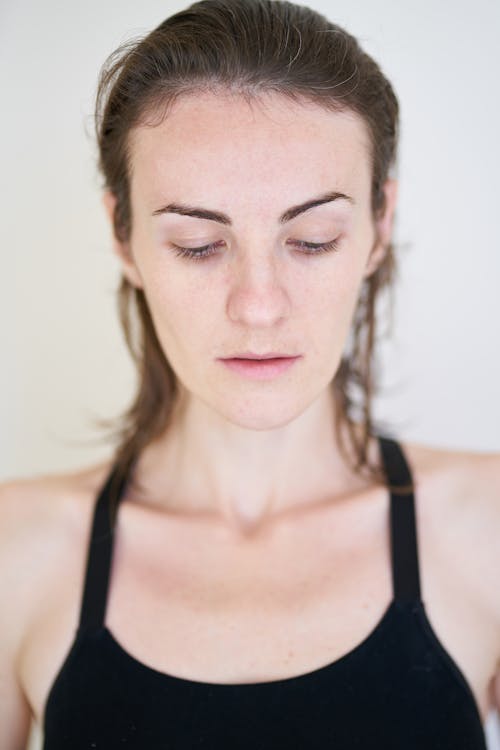
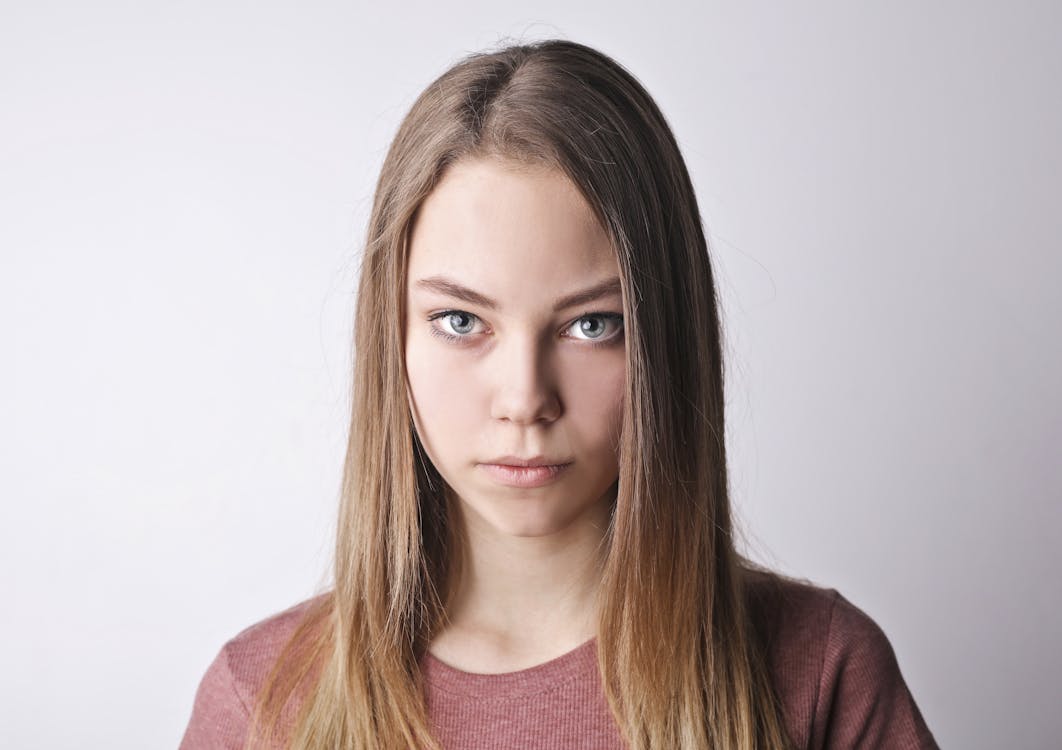
2. Go Bare-Faced
This is the one that feels counterintuitive — but it's non-negotiable. Foundation changes your skin undertone. Blush adds artificial warmth or coolness to your cheeks. Bronzer alters the depth of your complexion. Eyeshadow and mascara affect how your eye color reads. Even tinted moisturizer can throw off the analysis. Your natural skin, lips, and eyes are the data — let Kayli see them clearly.
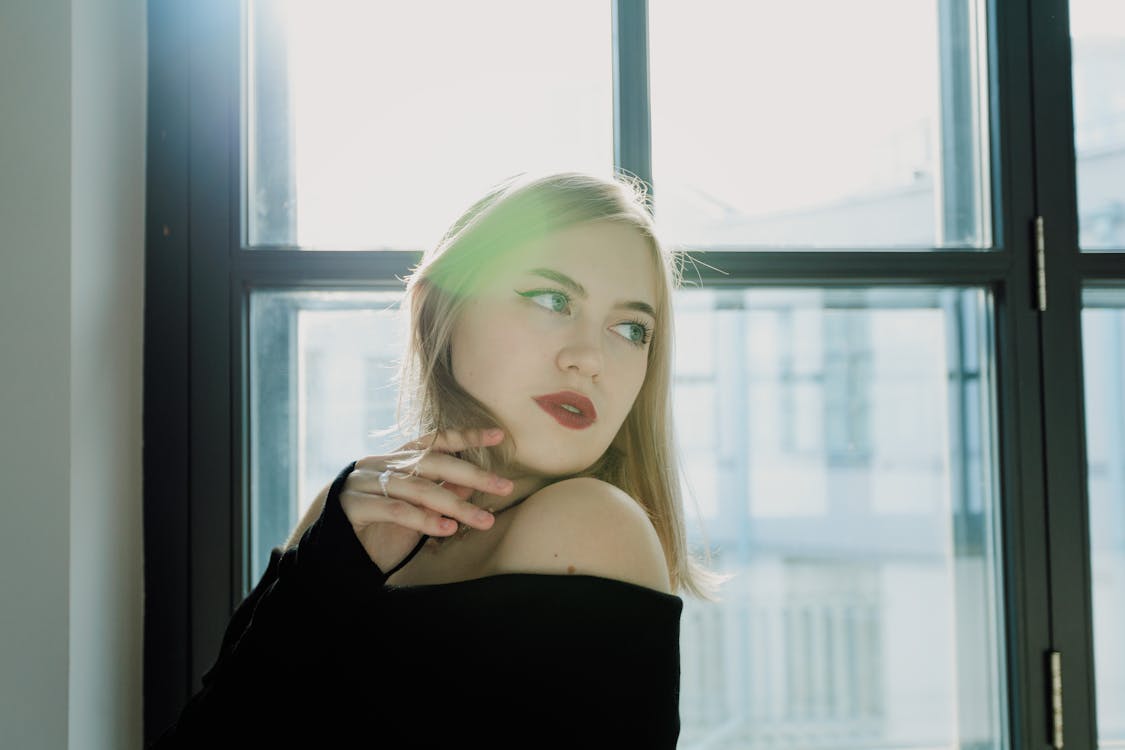
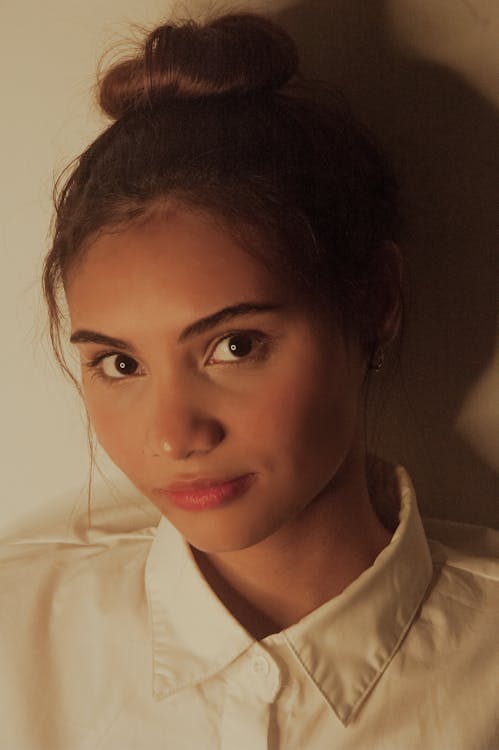
3. Wear a Neutral Top and Pull Your Hair Back
Bright or heavily patterned clothing casts color onto your face and neck, distorting how your skin reads in the photo. Wear a simple white, grey, or soft beige top — or anything that exposes your neck and collarbone. Similarly, hair hanging around your face blocks your jaw and neck, which are key reference areas for the analysis. Pull it back into a bun or ponytail so your face and hairline are fully visible.
4. No Filters, No Flash
Instagram filters, Snapchat beauty modes, and even your phone's built-in "portrait mode" skin smoothing can alter color information in the photo. The same goes for flash — it creates a flat, white light that washes out the natural variation in your skin and eyes. Turn off your flash, disable any beauty filters, and if you're using portrait mode, that's fine for background blur, but don't apply any tone adjustments afterward.

5. Frame It as a Headshot, Looking Straight Ahead
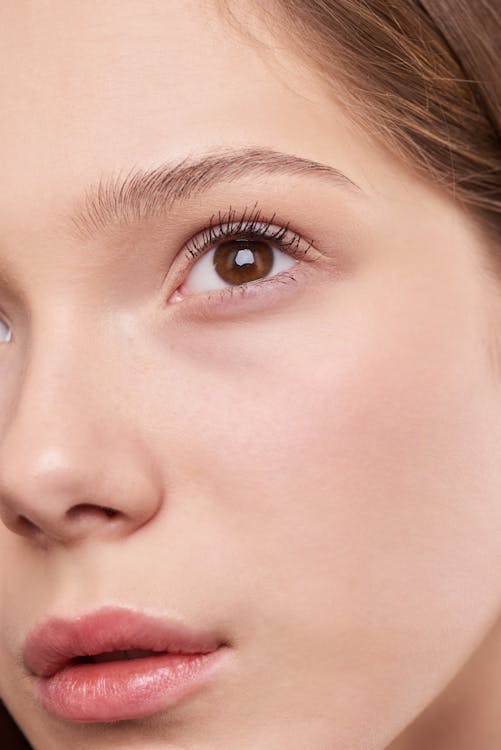
The ideal photo is a clear headshot from about the shoulders up, with your face pointing directly at the camera — not angled, not looking up or down. Hold your phone at eye level (or slightly above) rather than below your chin, which distorts proportions. Make sure the photo is in focus and the resolution is as high as possible. Blurry or low-resolution photos make it much harder to read eye color and skin undertones accurately.
Quick Checklist Before You Submit
Run through these before uploading: natural light from a window or outdoors ✓ — no makeup, self-tanner, or tinted products ✓ — hair completely off your face and neck ✓ — neutral top that shows your neckline ✓ — no filters, no flash ✓ — in-focus headshot facing straight at the camera ✓. Bonus tip: include a close-up photo of your eyes and, if you have one, a childhood photo (ages 5–12). The more reference Kayli has, the more precise your analysis will be.
Ready? Taking three minutes to get your photo right can be the difference between a perfect season match and an off result. Your colors are in there — let's find them.
Curious about your own color season?
Get a professional color analysis and discover the palette that makes you glow.
Get My Color Analysis